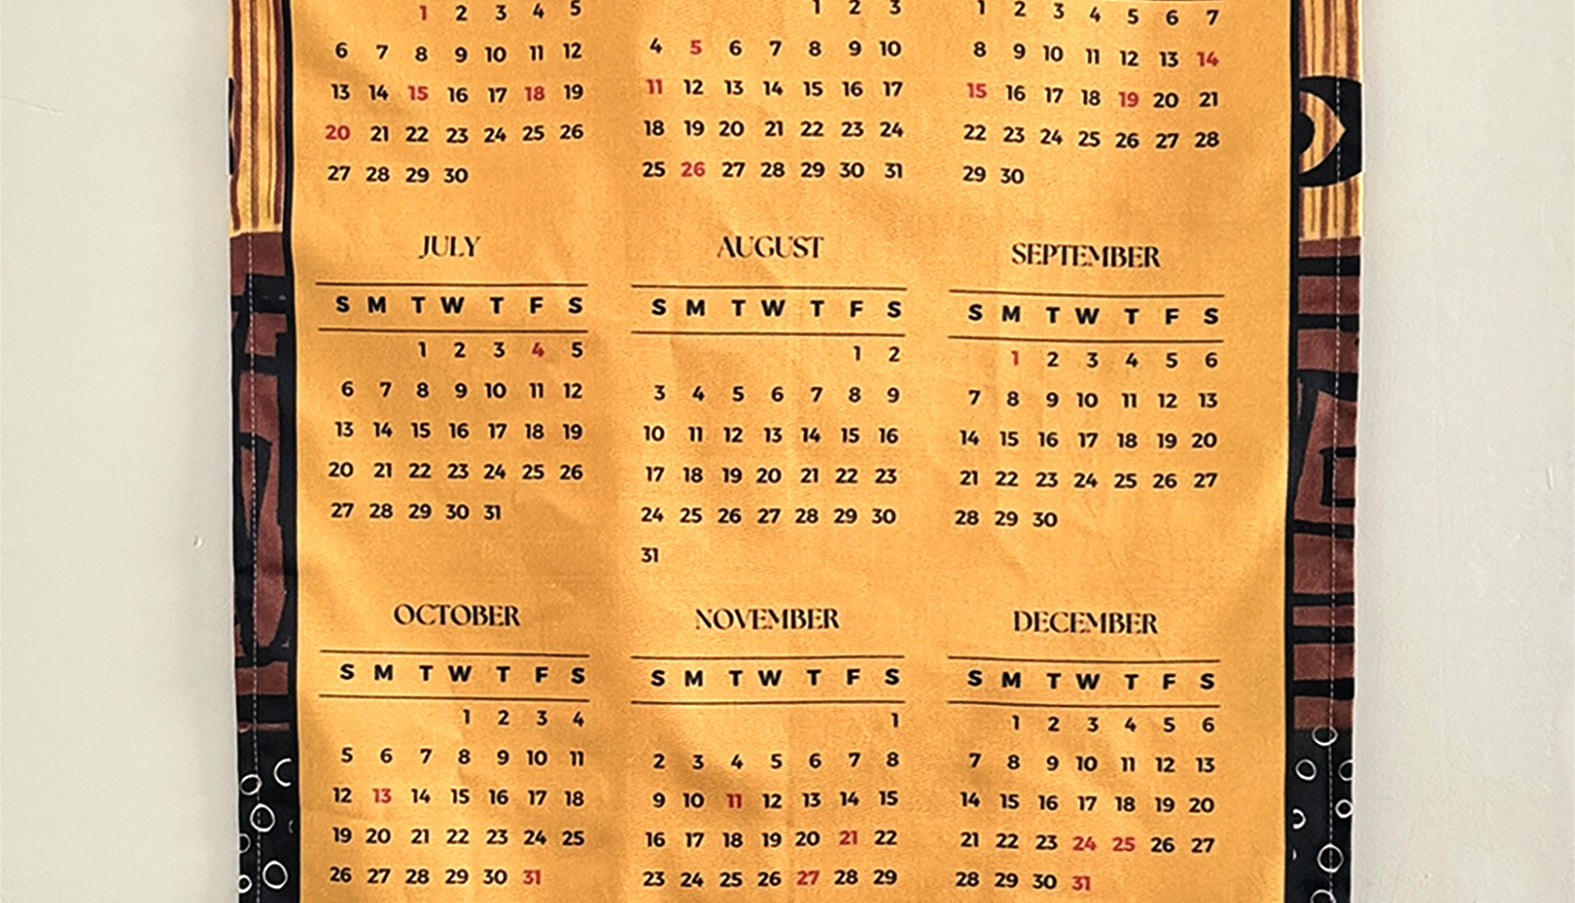
If you're looking for a simple yet stylish way to organize your home and keep track of the months ahead, creating a dish towel wall calendar is a charming and functional solution. Dish towels with printed calendars have become quite popular, and they add a vintage or rustic vibe to any space. This DIY project will guide you step by step on how to hang your very own dish towel calendar, perfect for your kitchen, home office, or anywhere that needs a touch of warmth and practicality.
Materials You’ll Need:
- Dish towel with a printed calendar – Select our Mud Cloth 2025 Wall Calendar or other dish towel that fits your style or the theme of your room.
- Wooden dowel rod – This will act as the hanging rod for the towel. Choose a dowel slightly wider than your dish towel for a neat look.
- String, ribbon, or twine – For hanging the dowel rod. Opt for a material that complements the aesthetic of the dish towel.
- Iron and ironing board – To smooth out any wrinkles in the dish towel before hanging.
- Glue Gun and Gun Stick and Velcro Dots or Strips - To attach the dish towel to the rod.
- Hooks or nails – To hang the calendar on the wall. Command hooks work great if you want to avoid putting holes in your walls
- Scissors – For trimming the string or ribbon.
Step-by-Step Guide:
1. Prepare Your Dish Towel
Before you begin hanging your dish towel calendar, give it a good iron. Dish towels are often folded tightly in packaging, leaving them with creases. Lay the towel flat on an ironing board, and press it with a warm iron to smooth out any wrinkles. This will ensure that your calendar hangs neatly and looks polished.
Measure the wood rod to be about 1 inch longer on each side. Cut/saw and smooth edges with nail file or sand paper.
2. Attach Dish Towel to Wood Rod
Once your dish towel is ironed and ready, place Velcro dots/strips alongside the back of the dish towel. On the wood rod, add the Velcro dots/strips to match the Velcro on the dish towel. To add additional strength for the attachment to the dish towel to the wooden rod, add a small drop of glue from the glue gun. Press the dish towel and rod together and hold for a few seconds to bond the sides.


3. Attach the Hanging String
Now that your towel is secured to the dowel rod, it’s time to create the hanging mechanism. Cut a length of string, ribbon, or twine to your desired length. Tie each end of the string to the ends of the dowel rod. Make sure the string is even on both sides so that your calendar will hang straight.
4. Optional: Add Embellishments
For a more personalized touch, you can embellish your wall calendar with tassels. Tassels are super easy to make or you can purchase them from craft stores such as Michaels or a fabric store. Look on YouTube for DIY tutorials on how to make tassels, which are are super easy to make with nothing more to purchase than the yarn.

5. Hang Your Calendar
Using either a small nail or adhesive hook such as Command hooks, hang your dish towel calendar on the wall. Make sure it’s at a height that allows you to see the full calendar and appreciate its design. If you're using a hook, you can easily shorten or lengthen the twine/string to adjust the height or position without damaging your walls.
Bonus Tips:
- Upcycle your dish towel: Once the year is over, detach the calendar from the wood rod, remove all of the Velcro/glue, wash dish towel and use as a dish towel, or another home decor project!
- Perfect for small spaces: If you’re tight on wall space, hanging our 2025 dish towel calendar is a great way to display a functional calendar without taking up too much room.
Conclusion
A DIY dish towel wall calendar is not only a fun and easy craft but also a unique way to decorate and stay organized. Whether you choose a bold, colorful design or something minimalist and neutral, this project offers plenty of room for personalization. Plus, it’s a great gift idea for friends or family who love practical, handmade decor!
Give it a try and bring a touch of creativity to your home with this unique DIY calendar display.


Comments (0)
Back to Get In The Know